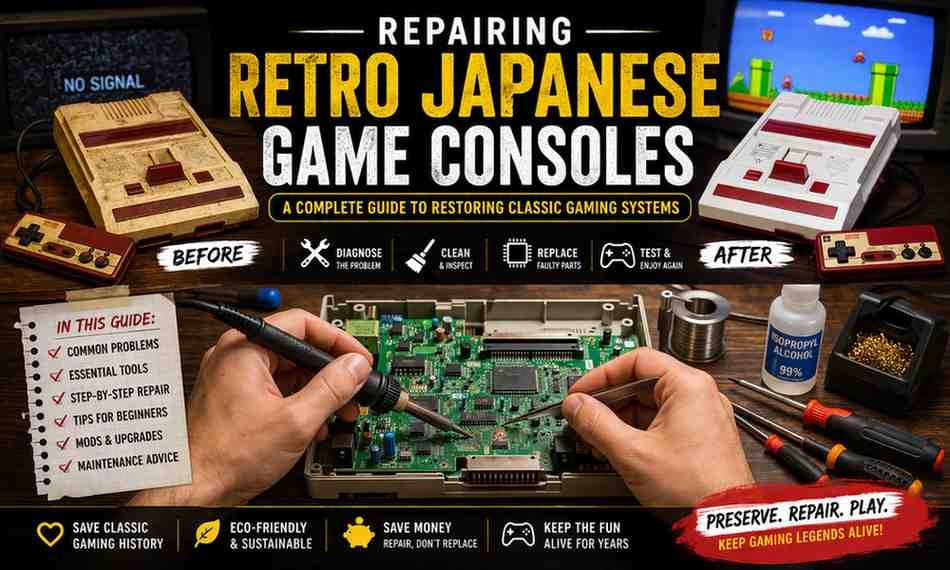
Introduction: Why Retro Console Repair Is Making a Comeback
There’s something special about powering on a retro console and reliving childhood memories. The charm of classic Japanese gaming systems lies not just in their games but in the authentic experience they deliver. However, as these machines age, they often stop working properly.
That’s where repairing retro Japanese game consoles comes in. What started as a niche hobby has grown into a global movement of gamers, collectors, and tech enthusiasts dedicated to preserving gaming history. Whether you want to fix your childhood console or start a new hobby, learning retro console repair is both practical and rewarding.
Why Repairing Retro Japanese Game Consoles Matters
Preserving Gaming History
Retro consoles represent a golden era of innovation. Repairing them ensures future generations can experience gaming in its original form rather than through emulation alone.
Cost-Effective Alternative
Buying refurbished consoles can be expensive. Learning to repair your own system saves money and gives you valuable technical skills.
Sustainability and E-Waste Reduction
Repairing instead of discarding old consoles reduces electronic waste, making it an eco-friendly choice.
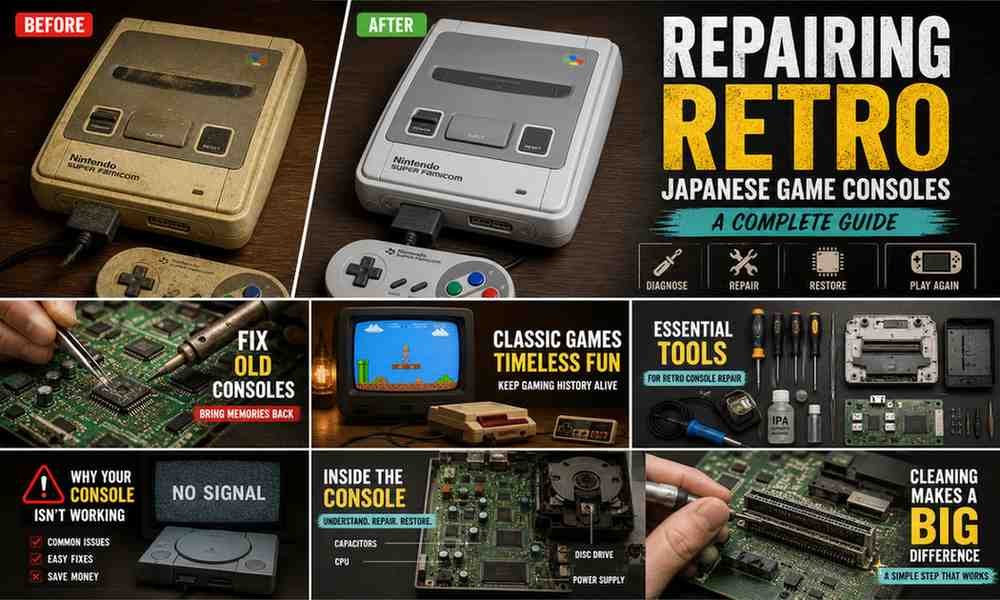
Common Problems in Retro Japanese Game Consoles
Understanding common issues is the first step in repairing retro Japanese game consoles effectively.
Faulty Capacitors
Over time, capacitors degrade, causing power failures, distorted audio, or display issues.
Dirty Cartridge Slots
Dust and corrosion can prevent cartridges from being read properly.
Disc Drive Failures
Laser lenses wear out in disc-based systems, leading to reading errors.
Power Supply Issues
Old power units may fail due to aging components or voltage inconsistencies.
Overheating and Dust Build-Up
Years of dust accumulation can block airflow and damage internal components.
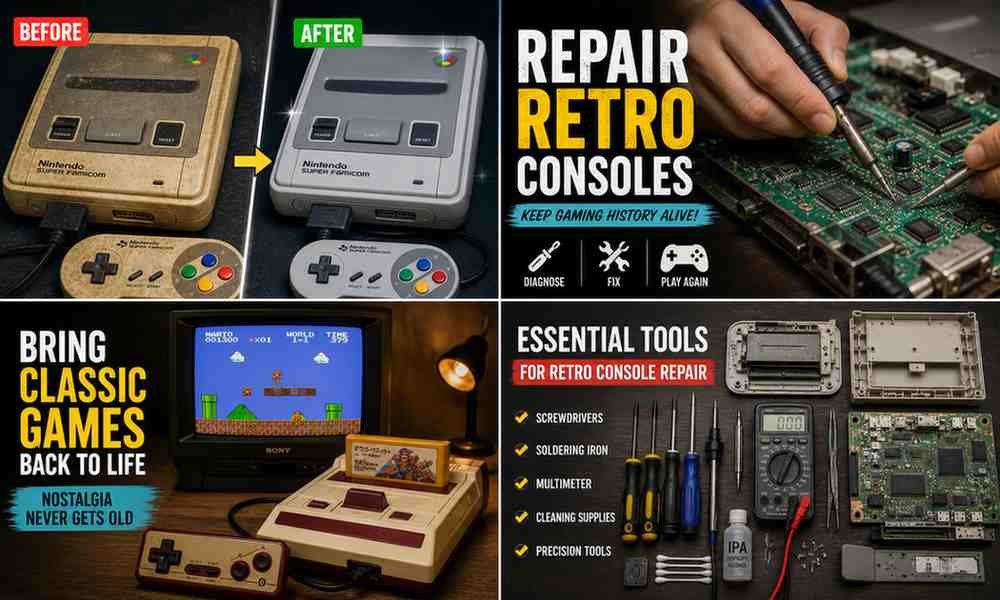
Essential Tools for Retro Console Repair
To start repairing retro Japanese game consoles, you’ll need some basic tools:
- Precision screwdriver set (including specialty bits)
- Isopropyl alcohol (90% or higher)
- Cotton swabs and soft brushes
- Multimeter for electrical testing
- Soldering iron for advanced repairs
- Compressed air for dust removal
Having the right tools makes the repair process smoother and safer.
Step-by-Step Guide to Repairing Retro Consoles
Step 1 – Diagnose the Problem
Start by identifying the issue. Check the power supply, cables, and connections before opening the console.
Step 2 – Clean Internal Components
Carefully open the console and clean dust, dirt, and corrosion using isopropyl alcohol.
Step 3 – Inspect for Damage
Look for leaking capacitors, burnt components, or broken connections.
Step 4 – Replace Faulty Parts
If necessary, replace damaged components using a soldering iron.
Step 5 – Reassemble and Test
Reassemble the console and test it with a game to ensure everything works properly.
Beginner Tips for Successful Console Repair
Start Simple
Begin with basic cleaning before attempting complex repairs.
Watch Tutorials
Learning visually can make difficult concepts easier to understand.
Practice Soldering
If you’re new to soldering, practice on scrap electronics first.
Stay Organized
Keep screws and parts labeled to avoid confusion during reassembly.
Advanced Restoration and Modding
Once you’re comfortable with basic repairs, you can explore advanced techniques:
Video Output Upgrades
Improve graphics quality for modern TVs.
Region-Free Modifications
Play games from different regions without restrictions.
Cosmetic Restoration
Restore yellowed plastic and scratched surfaces for a like-new appearance.
Challenges in Repairing Retro Japanese Game Consoles
While rewarding, this hobby comes with challenges:
- Limited availability of original parts
- Risk of damaging components during repair
- Some consoles may be beyond repair
However, each challenge is an opportunity to learn and improve your skills.
Final Thoughts
Repairing retro Japanese game consoles is more than just fixing old hardware—it’s about preserving a piece of history. With the right tools, patience, and knowledge, anyone can learn to restore these classic systems.
Whether you’re doing it for nostalgia, sustainability, or curiosity, this hobby offers a unique blend of technical skill and emotional reward. And when your console finally powers on again, it’s not just a repair—it’s a revival.
Frequently Asked Questions (FAQ)
Is repairing retro Japanese game consoles beginner-friendly?
Yes, many repairs, like cleaning and cable replacement, are simple and perfect for beginners.
How long does a console repair take?
Basic cleaning can take under an hour, while complex repairs may take several hours.
Can all retro consoles be fixed?
Most can be repaired, but severely damaged systems may only be useful for spare parts.
Do I need professional training?
No, many hobbyists are self-taught using guides and tutorials.
Is it cheaper to repair or buy a new one?
Repairing is usually more affordable and adds personal value to the console.
Description: Learn how repairing retro Japanese game consoles can bring classic systems back to life. Discover tools, common issues, and expert tips in this complete beginner-friendly guide.